Note
This feature is currently in beta and subject to change. To learn more about the Beta program for this feature, contact your Marqeta representative.
This feature is currently in beta and subject to change. To learn more about the Beta program for this feature, contact your Marqeta representative.
- Create and view credit policies for credit products, APRs, fees, and rewards.
- Create, activate, view, and archive bundles.
- View templates available for the program to use.
The basics
To manage credit programs, log into the Marqeta Dashboard, select Dashboard in the upper-left corner, and then select Credit programs from the sidebar. For more on accessing the Marqeta Dashboard, see Access the Marqeta Dashboard.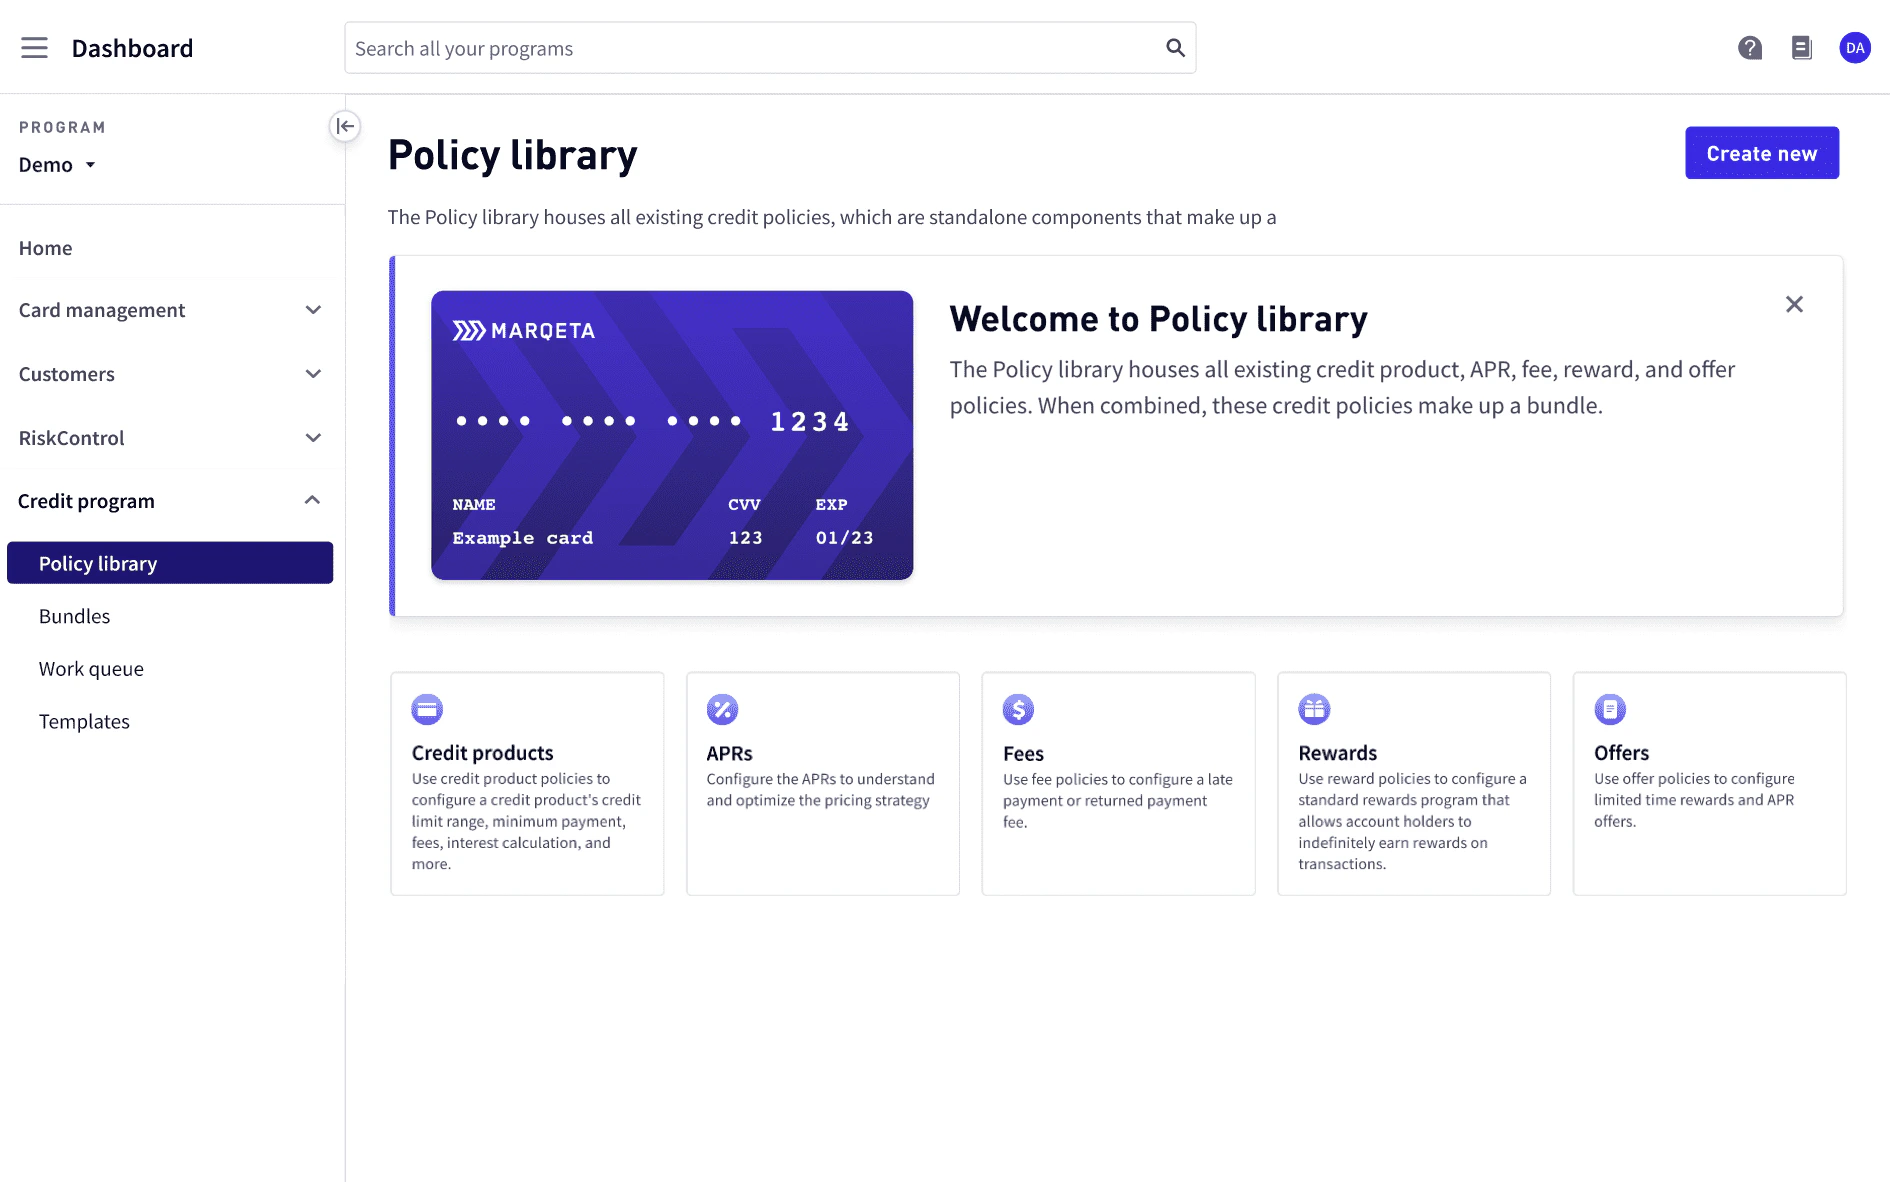
How to…
- Create a credit product policy
- View a list of credit product policies
- View credit product policy details
- Create an APR policy
- View a list of APR policies
- View APR policy details
- Create a fee policy
- View a list of fee policies
- View fee policy details
- Create a reward policy
- View a list of reward policies
- View reward policy details
- Create a bundle
- View a list of bundles
- View bundle details
Roles
Marqeta Dashboard users with an Admin role can assign roles to other users. For details on how to manage users as an Admin, see User management. Roles define the privileges that are available to Dashboard users. Credit Program users can be assigned the following roles:| Roles | Privileges |
|---|---|
| Creator | - Create new policies - View existing policies. - Create inactive bundles. - View active bundles. - View templates. - View items in the work queue. |
| Approver | - View policies. - Approve bundles. - View templates. - View and work on items in the work queue. |
| Brand contributor | - View bundles. - Activate bundles. |
Policy library
Use the Policy Library to create and view your credit product policies, which contain custom configurations for credit products, APRs, fees, and rewards. If you have the Creator role, you can combine the policies into a bundle. By choosing specific policies to add, you can create a bundle with the exact configurations needed to launch a new credit program or help manage an existing one. The configurations of each policy in a bundle determine the characteristics and attributes of the bundle’s associated credit accounts, reward programs, disclosures, and more. For more on bundles, see Bundles.Note
To view the complete endpoint reference available for reference purposes only, see Policies.To create and manage policies, you must use the Marqeta Dashboard.
To view the complete endpoint reference available for reference purposes only, see Policies.To create and manage policies, you must use the Marqeta Dashboard.
Creating a credit product policy
If you have the Creator role, you can create a new credit product policy as described in Roles. To create a credit product policy:Review the method, daily periodic rate day count convention, and balance types to include in the interest application.
Review the residual interest, grace days application, credits application, excluded transaction types, and the payment allocation order.
Viewing a list of credit product policies
To view a list of credit product policies, go to Policy library > Credit products. Credit product policies are listed by name. Each line item displays:- Credit product name.
- Credit limit minimum and maximum.
- Date the credit product was created.
Credit product policy details
To display the credit product policy details, select the credit product name from the list of credit product policies. The following Credit product policy information is displayed.| Name | Description |
|---|---|
| Card product selection | Name of the card products associated with the credit product policy. |
| Credit product name | Name of the credit product. |
| Credit product description | Description of the credit product. |
| Credit product classification | Class to which the credit product belongs. |
| Credit product type | Type of credit product. |
| Credit product subtype | Subtype of the credit product type. |
| Currency | The ISO 4217 currency code of the credit product. |
| Credit limit minimum | Minimum amount of the credit limit. |
| Credit limit maximum | Maximum amount of the credit limit. |
| Billing Cycle Day | Day of month the billing cycle starts |
| Payment due day | Day of month the payment for the previous billing cycle is due. |
| Usage | Balance type that uses the credit product. |
| Minimum payment percentage | The percentage of the statement balance that helps determine the minimum payment value. |
| Minimum payment amount | The fixed amount that helps determine the minimum payment value. |
| Name | Description |
|---|---|
| Method | Method of interest calculation. |
| Daily periodic rate day count | Day-count convention. |
| Include in interest application | Balance type on which interest is applied. |
| Minimum interest | When interest is applied, this value is the minimum amount of interest that can be charged. |
| Residual interest | Determines whether to charge or waive interest for the billing period when the balance is paid off. |
| Grace days application | Determines the last day of grace period based on which interest charges are calculated. |
| Credits application | Cycle type and day that credits are applied in the daily balance calculation. |
| Excluded transaction types | Transactions that are excluded from current billing period’s interest charge, but included in next. |
| Payment allocation order | Ordered list of balance types to which payments are allocated, from first to last. |
Creating an APR policy
If you have the Creator role, you can create a new APR policy as described in Roles. To create an APR policy:Select a pricing strategy from the list of available strategies.
- For the selected pricing strategy, review the Go-to APR for each risk tier and its corresponding margin.
Viewing a list of APR policies
To view a list of APR policies, go to Policy library > APRs. APR policies are listed by name. Each line item displays:- APR name.
- Go-to range rate.
- Date the prime rate went into effect.
APR policy details
To display APR policy details, select the APR name from the list of APR policies. The following APR policy information is displayed.| Name | Description |
|---|---|
| APR policy name | Name of the APR policy. |
| APR policy description | Description of the APR policy. |
| Usage | Balance type that uses the APR. |
| APR | Type of APR. |
| Pricing strategy | List of pricing strategies. Each line item displays: - Pricing tier - Margin rate - Go-to rate |
| Effective date | Date the prime rate is effective. |
Creating a fee policy
If you have the Creator role, you can create a new fee policy as described in Roles. To create a fee policy:
To view your newly created fee policy, go to Policy library > Fees and select the name of your fee policy.
Viewing a list of fee policies
To view a list of fee policies, go to Policy library > Fees. Fee policies are listed by name. Each line item displays:- Fee name.
- Amount of the late payment fee.
- Amount of the returned payment fee.
Fee policy details
To display fee policy details, select the fee name from the list of fee policies. The following Fee policy information is displayed.| Name | Description |
|---|---|
| Fee name | Name of the fee policy. |
| Fee description | Description of the fee policy. |
| Late payment fee | Amount of the late payment fee. |
| Return payment fee | Amount of the returned payment fee. |
Creating a reward policy
If you have the Creator role, you can create a new reward policy as described in Roles. To create a reward policy:Add a minimum purchase rule.
- Enter the percentage reward that the cardholder can earn.
- Select whether the cardholder must spend greater than a minimum amount, less than a maximum amount, or within a range of amounts.
- Enter the minimum or maximum amount the cardholder must spend to earn the reward.
Viewing a list of reward policies
To view a list of reward policies, go to Policy library > Rewards. Reward policies are listed by name. Each line item displays:- Reward name.
- Description of the reward.
- Type of reward.
Reward policy details
To display reward policy details, select the reward name from the list of rewards. The following reward policy information is displayed.| Name | Description |
|---|---|
| Reward name | Name of the reward policy. |
| Reward description | Description of the reward policy. |
| Reward type | Type of reward. |
| Merchant category code (MCC) rule | MCCs eligible for the reward. |
| Reward period | The period for when the reward is eligible. |
| Any reward rules | Each reward rule displays: - Earn – The reward percentage applied when the balance for a billing cycle fits the spend rule and amounts specified. For example, a 1% earn means that the account holder earns 1% of the account balance if they spend according to the spend rule and amounts specified. - Spend rule – Whether the account balance has to be greater than than a specified amount, less than a specified amount, or within a range of specified amounts to earn the reward. - Minimum or maximum amount – The minimum and maximum amounts that the balance for a billing cycle can be to earn the reward. |
| Event rule | When the reward is applied. |
Bundles
Use Bundles to create and view your bundles. A bundle consists of several policies “bundled” together. Each bundle must contain one credit product policy, APR policy, and fee policy. A reward policy is optional. The configurations of each policy in a bundle determine the characteristics and attributes of the bundle’s associated credit accounts, reward programs, disclosures, and more. For more on policies, see Policy library.Note
To view the complete endpoint reference available for reference purposes only, see Bundles.To create and manage bundles, you must use the Marqeta Dashboard.
To view the complete endpoint reference available for reference purposes only, see Bundles.To create and manage bundles, you must use the Marqeta Dashboard.
Bundle statuses
A bundle can have one of the following statuses.| Status | Role | Description |
|---|---|---|
| Active | Creator Approver Brand contributor | The bundle is active and can be used. |
| Approved | Creator Approver | The bundle has been approved and is awaiting activation. |
| Awaiting activation | Brand contributor | The bundle has been approved and is awaiting your activation to become active. |
| Rejected | Creator Approver Brand contributor | The bundle has been rejected and cannot be restored. |
| Submitted to Approver | Creator | The bundle has been submitted to the Approver and is awaiting approval. |
| Needs your revision | Creator | The bundle has been reviewed by the Approver and needs your revision. |
| Needs your review | Approver | The bundle is awaiting approval and needs your review. |
| Sent for revision | Approver | The bundle has been sent back to the Creator for their revision. |
Creating a bundle
If you have the Creator role, you can create a new bundle as described in Roles. To create a bundle:Review each policy and ensure the configurations for the credit product policy, APR policy, and fee policy are captured in the SOCT.
Viewing a list of active and rejected bundles
To view a list of active and rejected bundles, go to Policy library > Bundles. To view bundles in other states, such as review or revision, see the Work queue. Bundles are listed by name. Each line item displays:- Bundle name.
- Status of the bundle.
- Date the bundle was created.
Bundle details
To display bundle details, select the bundle’s name from the list of bundles.- The Note section allows Creators and Approvers to make notes about the bundle to each other. Enter a note to be viewed by others working on the bundle.
-
The Disclosures section displays the Summary of Credit Terms (SOCT).
- Select to view the SOCT.
-
The bundle’s credit policy details are displayed.
- View the bundle’s credit product policy details.
- View the bundle’s APR policy details.
- View the bundle’s fee policy details.
- View the bundle’s reward policy details.
Work queue
If you have the Creator or Approver role, you can use the Work queue to manage your bundles needing revision, needing review, awaiting approval, or awaiting activation. Bundles are listed by name. Each line item displays:- Bundle name.
- Status of the bundle.
- Date the bundle was created.
Templates
In Templates, you can view the templates available for your credit program, such as the pre-application and post-application templates, statement templates, Notice of Adverse Action (NOAA) templates, and more. These templates are used as the basis to generate the final disclosures during bundle creation. Templates are listed by name and categorized into sections. To view a template, select its name.| Section | Template name | Description |
|---|---|---|
| Application stage Account opening | Rewards Program Terms and Conditions | Template for the Rewards Disclosure, which contains information about the rewards program for a bundle. The Rewards Disclosure must be displayed to a user before their application is submitted (pre-application) and after their application is approved (post-application). |
| Application stage | Summary of Credit Terms | Template for the Summary of Credit Terms (SOCT), which outlines the terms of an account, such as the interest rates, interest charges, associated fees, and more. |
| Account opening | Benefits - Premium | The Benefits Disclosure template for a premium card product, which discloses the network benefits of a Mastercard World or Visa Signature card. |
| Account opening | Benefits - Traditional | The Benefits Disclosure template for a traditional card product, which discloses the network benefits of a traditional Mastercard or Visa card. |
| Account opening | Card member agreement | Template for the Card Member Agreement, which specifies the terms and conditions of an account, including the interest rates, interest charges, fees, minimum payment calculations, and more. |
| Account opening | Terms schedule | Template for the Terms Schedule, which specifies the interest rate details on the user’s credit account. |
| Failure to credit | Multiple reasons with Dodd Frank section | The Notice of Adverse Action (NOAA) template for when an application is declined for multiple reasons related to the applicant’s credit score. This template contains a Dodd-Frank section that discloses their credit score and the information related to that score that was used to decline their application. |
| Failure to credit | Single reason | The NOAA template for when an application is declined for a single reason. |
| Failure to credit | Single reason with Dodd Frank section | The NOAA template for when an application is declined for single reason related to the applicant’s credit score. This template contains a Dodd-Frank section that discloses their credit score and the information related to that score that was used to decline their application. |
| Application | Esign policy | Template for the eDisclosure, which states that users are to receive their disclosures electronically. |
| Application | Privacy policy | Template for the Privacy Policy, which explains how an applicant’s data is used and managed. |